Medical mask. Instructions for sewing and printing patterns | Шить просто — Выкройки-Легко.рф

Medical mask. Instructions for sewing and printing patterns

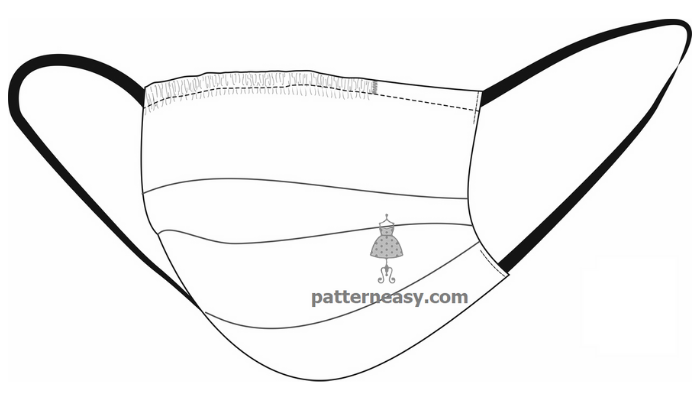
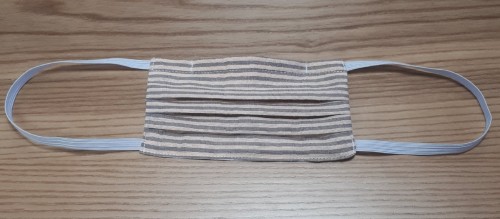
Description: medical mask with elastic ear loops and nose clip, double-layered, reusable. Sizes: S, M, L.
В PDF формате
Уровень сложности
Для начинающих
Купить выкройку
Размеры выкроек
Один размер

Medical face mask. Guide for sewing and printing the sewing pattern

Medical mask. Instructions for sewing and printing patterns фото
Difficulty level: easy.
Reusable medical face mask. Printing the pattern guide and sewing steps.
Recommended materials: the main material can be muslin, cotton or linen. Tissue or any unwoven material can be used as a replaceable filter inserted between the main fabrics.
Additional supplies needed:
- elasticated ribbon (elastic) 40 cm long or shorter
- wire for the nose clamp
- threads (same color as the base fabric), 1 spool
Life hack: wire clamp usually used for the packages (e.g. bread packs) could also be used as the nose clamp.
Medical mask. Instructions for sewing and printing patterns фото
When you order the sewing pattern you will also receive 2 pdf-files:
- Print guide with the control square
- Sewing pattern itself (A4 format) to printing with printer
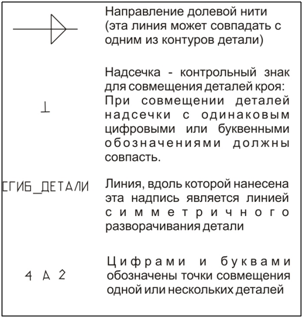
The sewing pattern includes following legend:
Medical mask. Instructions for sewing and printing patterns фото

HOW TO PRINT

ATTENTION! BEFORE STARTING TO WORK WITH THE PATTERN, CAREFULLY STUDY THE INFORMATION
Details specification
1. The main part – 2 details.
Technological steps of the sewing
Medical mask. Instructions for sewing and printing patterns фото

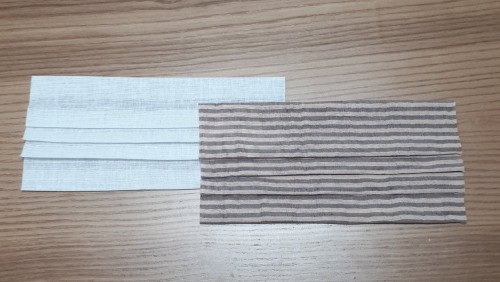
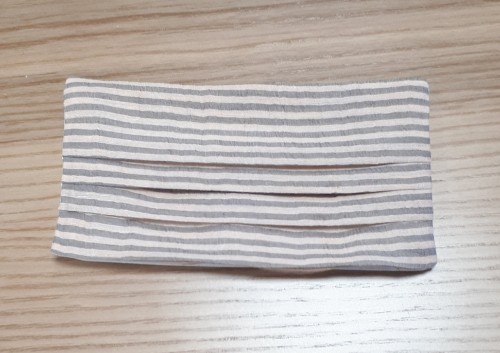
1. Make the folds just like on the template (main detail) and fasten them with pines or just stitch them. Iron.

Medical mask. Instructions for sewing and printing patterns фото

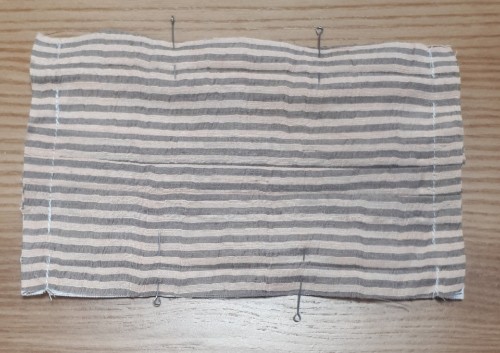
2. Fold mask parts with their faces inward. Align the side and top edges. Pin and whipstitch the side sections with the 15 mm seam width, leaving a hole for threading the clamp and elasticated ribbon. Then whipstitch the upper cut with the 15 mm seam width. Iron it.

Medical mask. Instructions for sewing and printing patterns фото

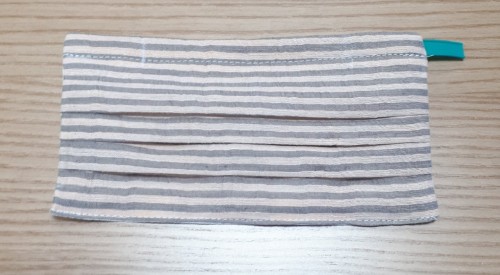
3. Turn to the front side. Spread the seams and iron.

Medical mask. Instructions for sewing and printing patterns фото

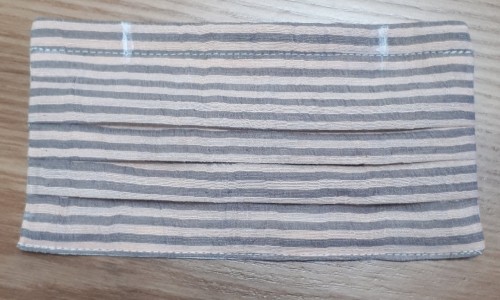
4.Make the finishing line 10 mm from the top. At the bottom (15 mm back ironed edge) make the finishing line 1-2 mm from the fold. Iron it. Insert the nose clamp (wire for the nose clamp).

Medical mask. Instructions for sewing and printing patterns фото

5. Mark the place of the nose clamp. Move the wire to this place.

Medical mask. Instructions for sewing and printing patterns фото

6. Fasten it along the marked lines with a triple reverse machine-stitch.

Medical mask. Instructions for sewing and printing patterns фото

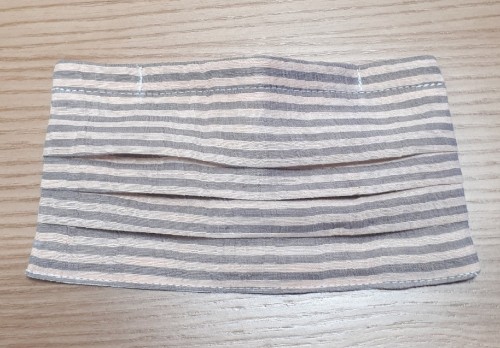
7. Fix the elastic to the lower and upper corners of the mask sides with a triple reverse stitching. Medical mask is ready to be used. 

Stay healthy!

Recommendations on the exploitation of the reusable face mask:
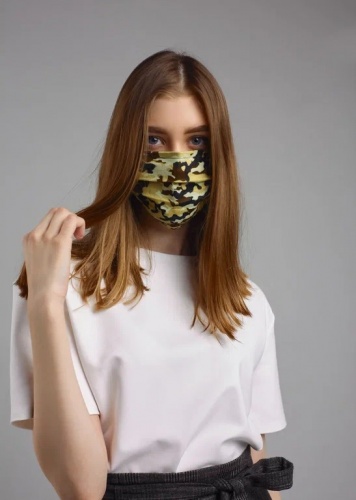
The mask should fit tightly to your face, covering mouth, chin and nose. The folds of the mask should be unfolded, shaping the mask with a more functional shape for a snug fit to your face. Remember to put a new, dry and clean mask at least every 2 hours (as soon as the old mask gets wet).
Reusable mask should be washed with washing powder or soap and ironed on both sides after using it.
06.04.2020
0 комментариев
Читайте также
Генератор случайных платьев
До Нового года осталось... (когда мы писали эту статью, до НГ оставалось чуть более двух недель, а когда читаете её вы, то возможно и меньше)... А платье праздничное так и не сшили?! Не смогли определиться с фасоном? Не знаете что хочется сшить? Не выбрали цвет ткани?

Для решения этой проблемы мы создали генератор случайных платьев
1052
Генератор случайных платьев
Новости сайта
Выкройка кожаной юбки в стиле милитари
Быстро, просто и легко: кожаная юбка в стиле милитари своими руками.
7
Выкройка кожаной юбки в стиле милитари
Уроки по моделированию
Выкройки для детей. Как сшить трикотажный свитшот
Шить детям - одно удовольствие. А особенно из трикотажа. Во-первых, это очень быстро. Во-вторых, очень просто. В третьих, эффектно. В четвертых, удобно! ​Предлагаю сшить свитшот своему ребенку. Потребуется отрез трикотажной ткани, немного рибаны или кашкорсе на обработку срезов, нитки, ножницы, хорошо бы оверлок (или швейная машинка) и выкройка. Где раздобыть выкройку я вам расскажу.
0
Выкройки для детей. Как сшить трикотажный свитшот
Уроки по моделированию
Пальто для девочек. Инструкция по распечатке выкроек и пошиву
0
Пальто для девочек. Инструкция по распечатке выкроек и пошиву
Инструкция по пошиву