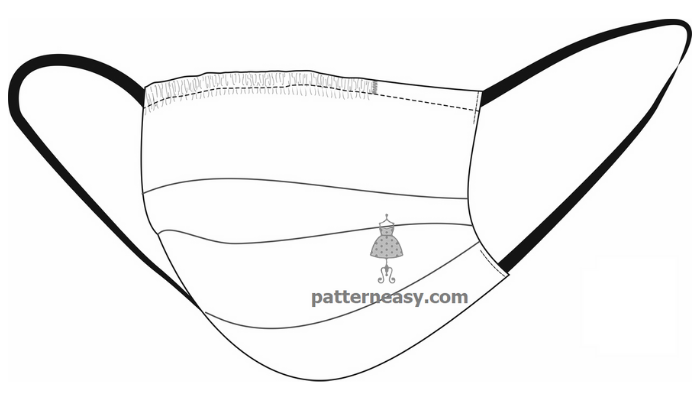
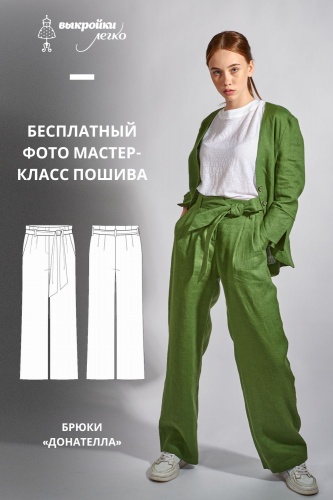
Medical mask. Instructions for sewing and printing patterns
Description: medical mask with elastic ear loops and nose clip, double-layered, reusable.
Sizes: S, M, L.
Просмотров: 5201
Размеры выкроек
Один размер
Difficulty level: easy.
Reusable medical face mask. Printing the pattern guide and sewing steps.
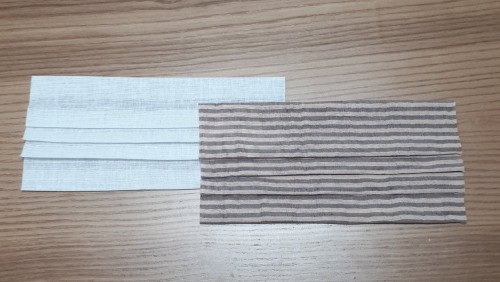
Recommended materials: the main material can be muslin, cotton or linen. Tissue or any unwoven material can be used as a replaceable filter inserted between the main fabrics.
Additional supplies needed:
- elasticated ribbon (elastic) 40 cm long or shorter
- wire for the nose clamp
- threads (same color as the base fabric), 1 spool
Life hack: wire clamp usually used for the packages (e.g. bread packs) could also be used as the nose clamp.

When you order the sewing pattern you will also receive 2 pdf-files:
- Print guide with the control square
- Sewing pattern itself (A4 format) to printing with printer
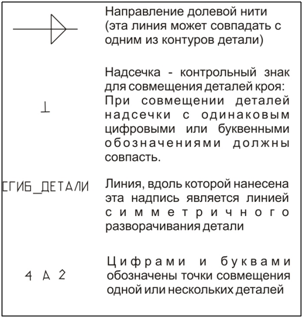
The sewing pattern includes following legend:
HOW TO PRINT
ATTENTION! BEFORE STARTING TO WORK WITH THE PATTERN, CAREFULLY STUDY THE INFORMATION
Details specification
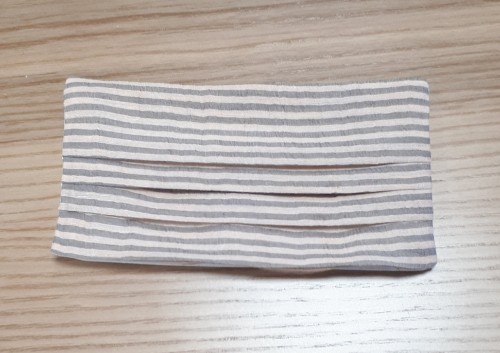
1. The main part – 2 details.
Technological steps of the sewing
|
1. Make the folds just like on the template (main detail) and fasten them with pines or just stitch them. Iron. |
|
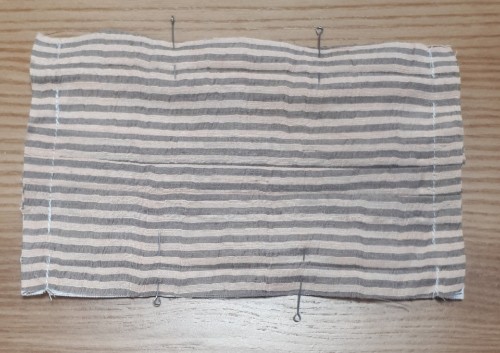
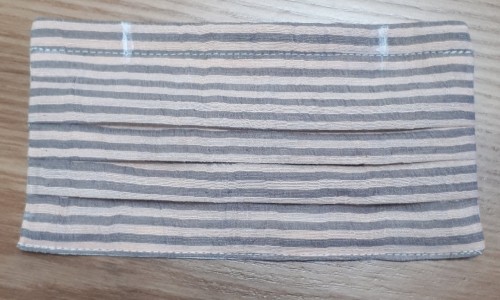
2. Fold mask parts with their faces inward. Align the side and top edges. Pin and whipstitch the side sections with the 15 mm seam width, leaving a hole for threading the clamp and elasticated ribbon. Then whipstitch the upper cut with the 15 mm seam width. Iron it. |
|
3. Turn to the front side. Spread the seams and iron. |

|
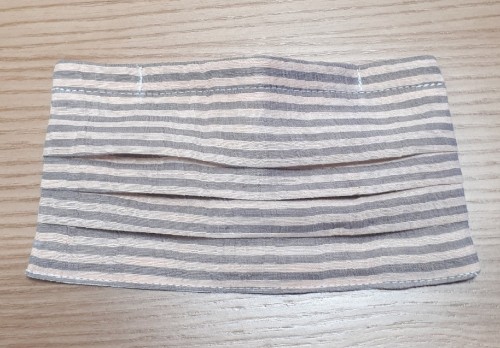
4.Make the finishing line 10 mm from the top. At the bottom (15 mm back ironed edge) make the finishing line 1-2 mm from the fold. Iron it. Insert the nose clamp (wire for the nose clamp). |
|
5. Mark the place of the nose clamp. Move the wire to this place. |
|
6. Fasten it along the marked lines with a triple reverse machine-stitch. |
|
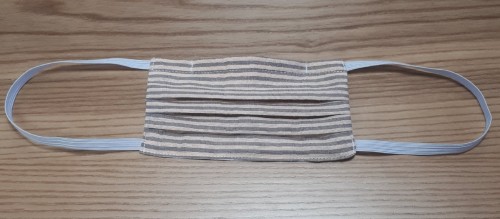
7. Fix the elastic to the lower and upper corners of the mask sides with a triple reverse stitching. Medical mask is ready to be used. |
Recommendations on the exploitation of the reusable face mask:
The mask should fit tightly to your face, covering mouth, chin and nose. The folds of the mask should be unfolded, shaping the mask with a more functional shape for a snug fit to your face. Remember to put a new, dry and clean mask at least every 2 hours (as soon as the old mask gets wet).
Reusable mask should be washed with washing powder or soap and ironed on both sides after using it.
Просмотров: 5201

Понравилась статья? Жми лайк!
06.04.2020
Понравилась статья? Жми лайк!
Подпишитесь на интересные статьи и получайте свежие новости
Самое интересное 7 дней в неделю

0 комментариев
Читайте также


Популярные комментарии
пошив как поэма. отдельный вид искусства. Платье получилось изумительное
К материалу: Платье-тренч
За день
и у меня блажь,но только платюшко хотю себе,чтоб нарядное,чтоб в пол и пофиг что нет повода-хотю и всё.вот только шью пока на повседневку(((,штаники(любимые) и футболоньки с длинным рукавом("мама ну ты чего- это же лонГСливы"(с) ,пофиг футболонька с длинным рукавом:),....эххх как там в детстве было,"Очень вредно не ехать на бал, когда ты этого заслуживаешь!ведь так можно и заболеть"-надо шить платюшки красивые,в пол и обязательно носить их,пусть без повода,но с гордо поднятой головой и прямой спиной...
Если честно мне сейчас немного жаль наших молоденьких девочек,девушек женщин-зачастую ритм жизни просто бешеный и в брюках удобнее,но в платье женщина несёт себя совсем по другому. А девочки-подростки с шикарными фигурками-упакуются в балахоны чтоб никто,нигде,ничегоне увидел-печалька ....простите меня но чёт накатило,пойду достану чтоль красивую тряпочку для платюшка

К материалу: Натали на выпускной
За неделю